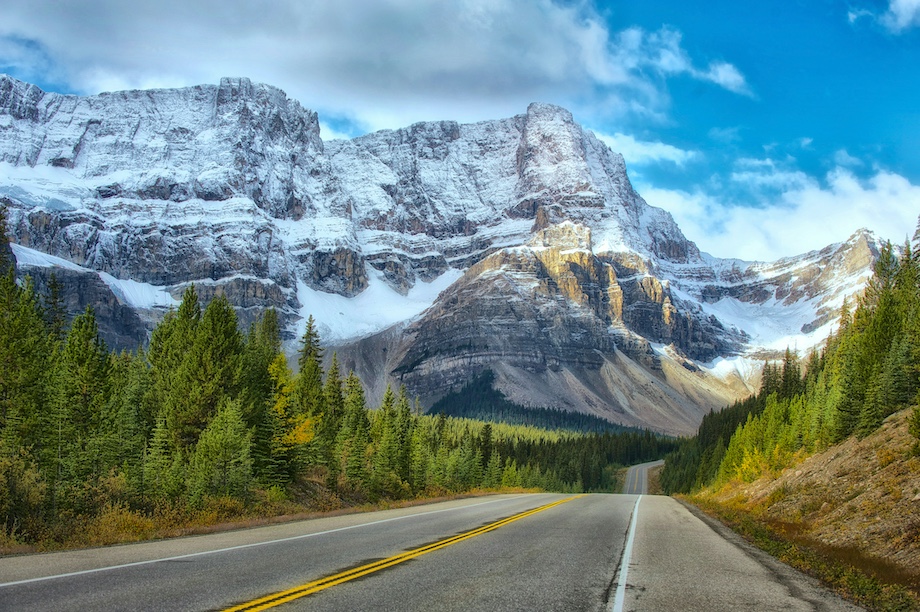
Before I became a professional organizer (and before my bins had bins), I was just as chaotic as your average Canadian camper. About 11 years ago, we packed up for a weekend of camping in Banff. Few hours later, we were finally ready to hit the road.
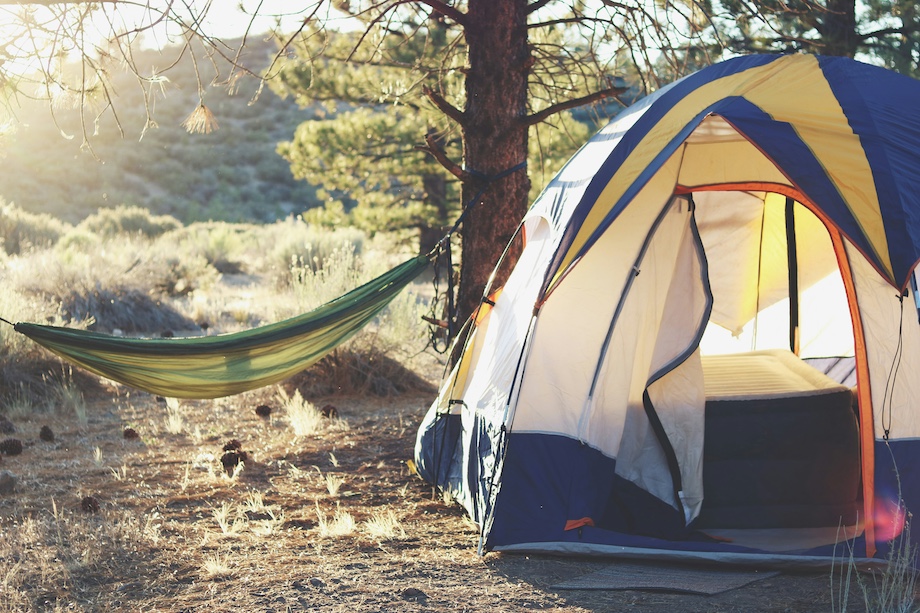
In the late evening, we go to set up the tent… and discover we forgot the poles. We improvised with a giant stick in the center like it was some kind of a teepee. The next day, we had to drive back into town and buy a whole new tent.
Lesson learned: disorganized camping is… memorable, but not in the good way.
In this blogpost I’m sharing a real-life guide on how to organize camping gear at home, so you’re always just a few calm minutes away from saying yes to adventure.
Step 1: Separate Camping Gear From Everything Else
Collect everything that belongs in camping together. Yes, you’re taking everything out into one pile. Now open our printable camping packing list and check if you have everything from the list. You may have some extras in there, and that’s perfectly fine, but make sure you have all the essentials first. If you’re missing something, write it down in your shopping list.
Helpful tips:
- Have bins with lids, in which you will organize your gear.
- Set aside a full day to go through everything.
- Sort items into four categories: campsite, cooking gear, clothing, hygiene.
- Be honest. If you haven’t used it in years, will you ever? Release it with gratitude.
Step 2: Build Your Bin System (& Label It Like A Pro)
Bins are your best friend, labels are your second best friend. We are going to create an ingenious system for your quick camping packing. I’ve got to give a credit to my wonderful client who came up with the idea. She labeled her bins by number: Bin 1 is the kitchen (always unpacked first), Bin 2 is sleeping gear (unpacked 2nd), and so on.
Here’s a tried-and-true setup to start with:
- Bin #1: Kitchen Essentials (this gets unpacked first)
- Bin #2: Sleeping & Tents
- Bin #3: Campfire & Lighting
- Bin #4: Toiletries & First Aid
- Bin #5: Clean-Up & Garbage
- Bin #6: Outdoor Fun & Games
- Bin #7: Clothes
Label each bin clearly on the outside. You may have more than one bin for some of the broader categories. That’s ok, just add an additional label: “bin 1 of 2”, “bin 2 of 2”.
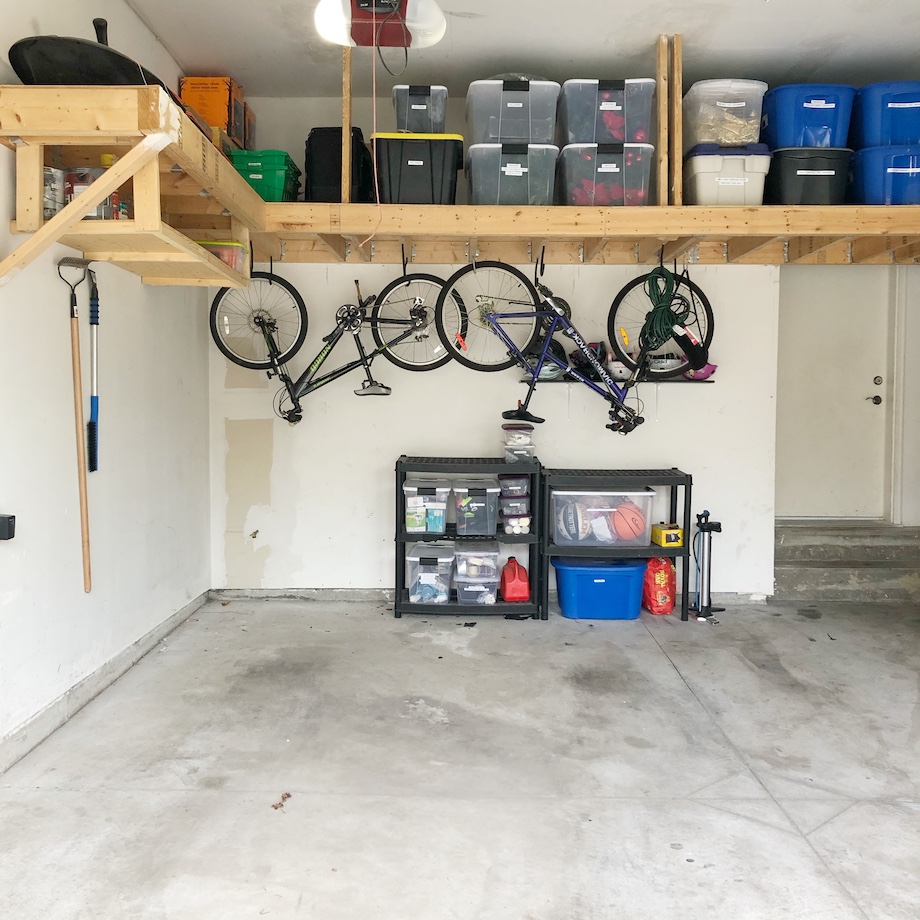
Step 3: Store It All In The Garage
Now that your bins are packed and labeled, I recommend creating a dedicated storage area in the garage, ideally near your car, for effortless loading and unloading.
Add a checklist to the top of Bin #1 (your go-to kitchen essentials). You’ll always know exactly what’s inside and what needs restocking.
Pro tip: Add a “repack” bin right beside your gear. When you get home, toss in dirty dishcloths, empty propane cans, or anything that needs attention before your next trip. No guessing, no stressing—just easy, organized camping trips.
Step 4: You Need Double Of Some Things
As a professional organizer, duplicates usually make me cringe, but camping is the exception. Having things strictly dedicated for camping, makes packing so much easier, and guarantees that you won’t forget anything.
Here’s what I mean:
- Kitchen gear, like cutlery, plates, knives, utensils etc.
- Bug spray – it stays happily tucked into Bin #4, even mid-January.
- Toiletries – don’t go and grab stuff from your bathroom, have a seperate cosmetic bag with essentials.
When packing takes a quick 20 minutes, you will want to go out into the nature every weekend.
This system isn’t complicated, but it is a game-changer. Dedicate one weekend to get your gear sorted, labeled, and ready, and future-you (the one who’s sipping coffee at a Banff campsite) will be so, so grateful. Or message us, and we’ll happily set it up for you.
We used REI Co-Op as reference to create an essential packing checklist for you. For more extensive list check out their website.
Read Next: Where to Donate Your Stuff in Calgary?