Starting small and working your way up is the best way to ensure a successfully organized space. That’s why a bathroom is perfect for this. It is a small project that can be completed in just an hour if you come prepared.
You will need for bathroom organizing:
- Trash bag for expired products
- Clear recycle bag for any empty bottles or boxes
- Shopping bag for donation items. Could be given to your mom, daughter, friend, or women’s shelter
- Organizing supplies (see the list below)
Organizing supplies we recommend for your bathroom
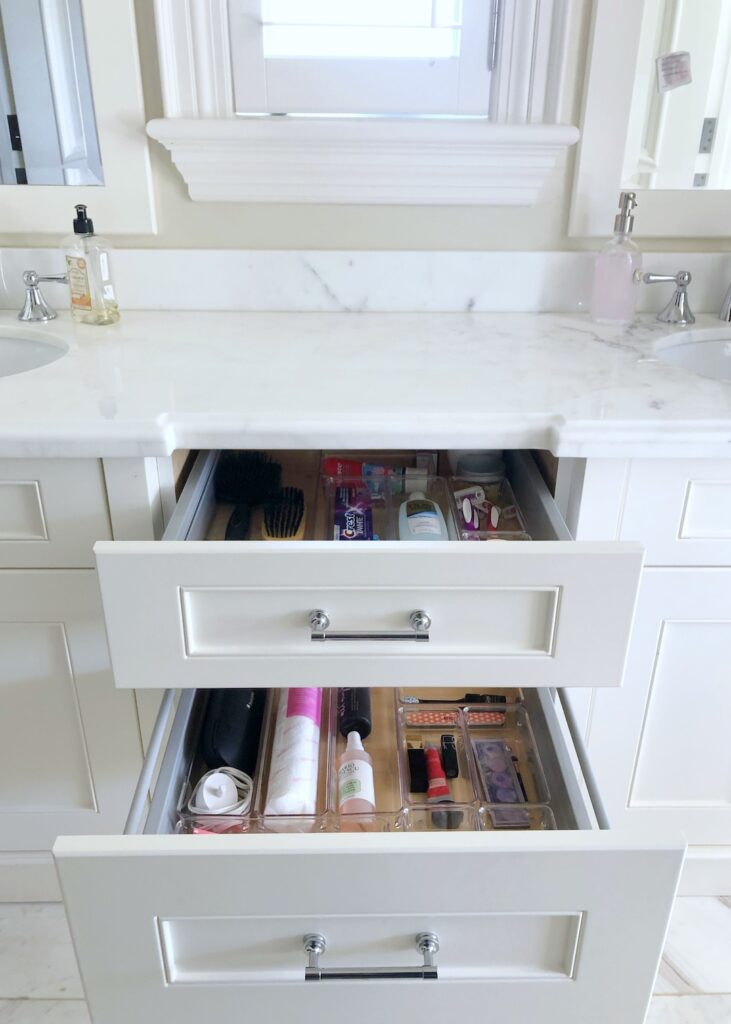
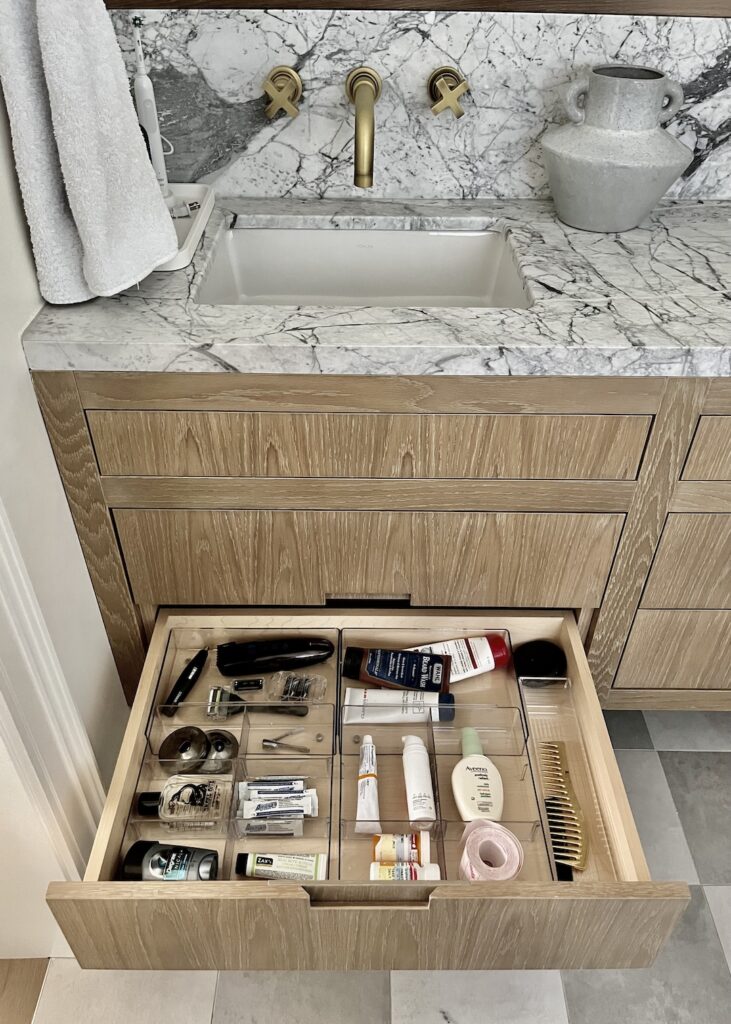
Organizing Solutions For Drawers
You’ll need some dividers. We love to save on these and get acrylic dividers from Dollarama. But we also like to have a good fit, and sometimes the dollarama ones just don’t work, so we go for adjustable acrylic divider from Canadian Tire “The Home Edit Collection“.
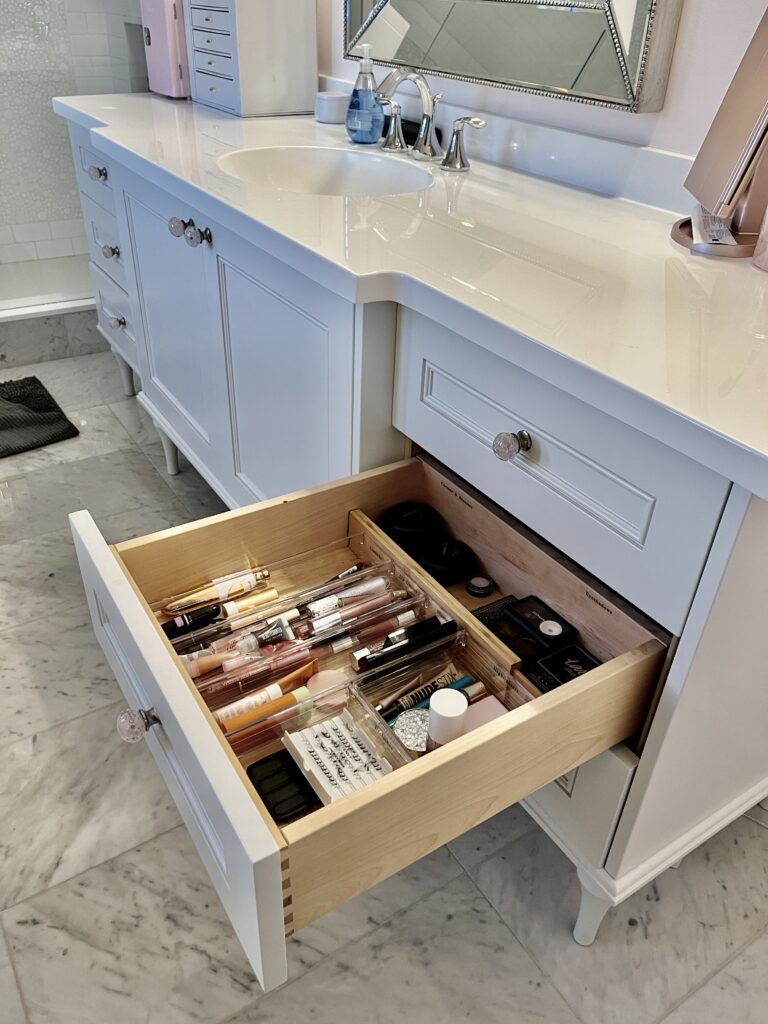
Tip:
If you have a few centimeters left on the sides, we recommend adding sticky dots. That way, dividers will stay in place and your drawer will always look great.
We also like to use expandable dividers, especially for drawer with hair tools, as they usually quite bulky and won’t fit into an acrylic divider.
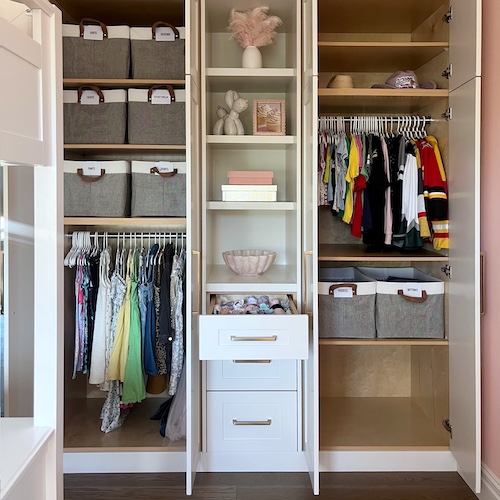
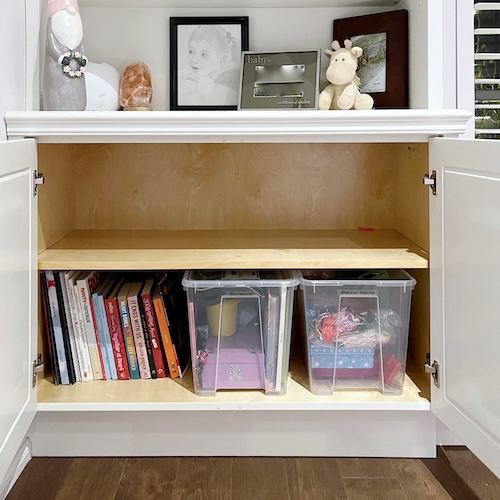
Organizing Solutions For Cabinets
We like to use clear acrylic supplies in the bathroom, as you may have noticed. iDesign has some great bins and turntables, as well as mDesign. The Home Edit collection from Canadian Tire is amazing too.
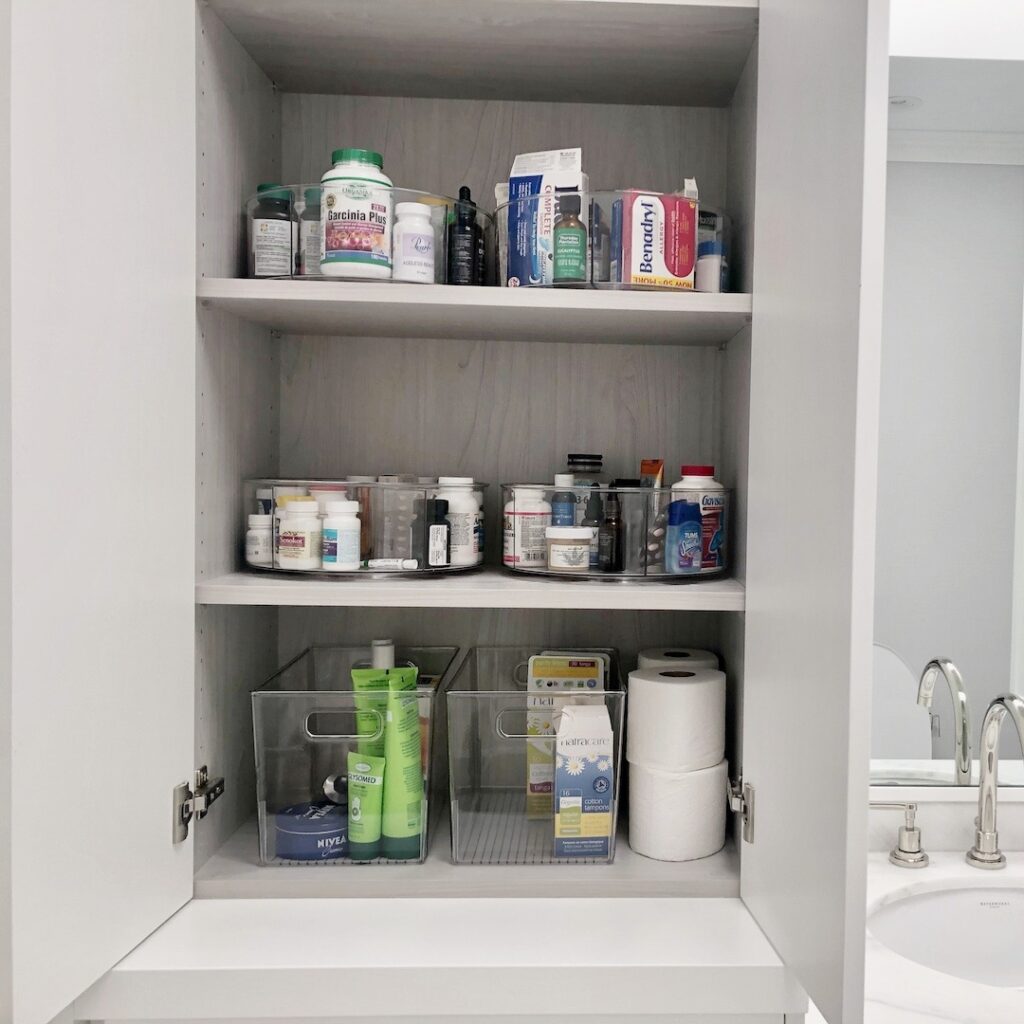
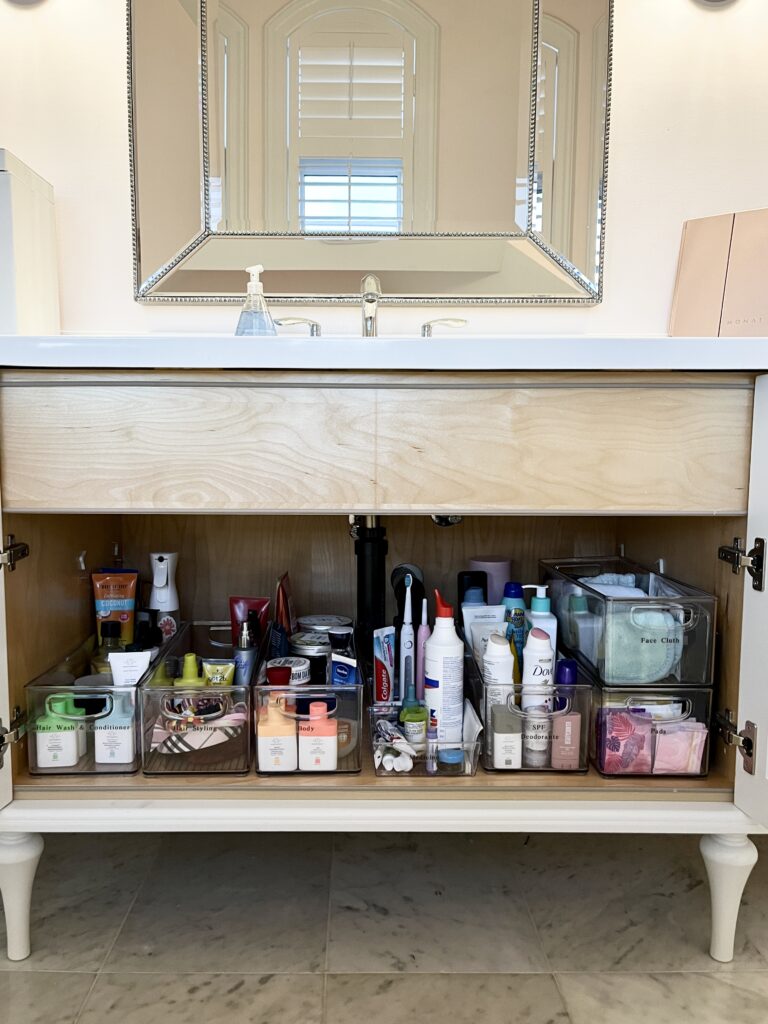
Acrylic pull-out drawer is great everywhere, especially in those bottom bathroom cabinets that don’t have any shelves. Stack two or put divided bin on top and enjoy all the storage space you’ve created.


Bottom line is, if you do not use it or need it, it’s clutter, and it needs to go.
– Charisse Ward
4 Step Process To Bathroom Organizing
Now, that you have your supplies ready, you can tackle your bathroom in no time.
Step #1
Take everything out, and wipe drawers and cabinets.
Step #2
Check expiry dates – easy to throw away, no second thoughts.
Step #3
Products you had for a while and never use – two options here. Either commit to using it up and place it in the visible spot, so you actually do. Or get rid of it. For instance, give it to a friend, donate, or throw it away.
Step #4
Finally decluttering is done. Time to put it back in, using the organizing supplies of your choice. If you find that you still have more product than space, you need to understand that your space is limited. Choose to have one shampoo and conditioner, lotion, etc. Make sure it’s the best one, the most luxurious you can afford.
Tip:
You don’t have to throw away any products. Just don’t buy anymore and use up what you have.
We hope this was helpful to you. If you have any questions regarding the process or supplies, we’ll be happy to help. Just let us know in the comments below.
At the end of the day, if you still find, that you’d rather do something else and have a professional come into your home, and organize it all for you, fill out the contact form, send us a few pictures and we’ll give you an estimate for your project.
Check here to get lots of answers to questions you may have, before contacting a home organizer.